Say Goodbye to Dents: Expert Strategies for Car Dent Removal
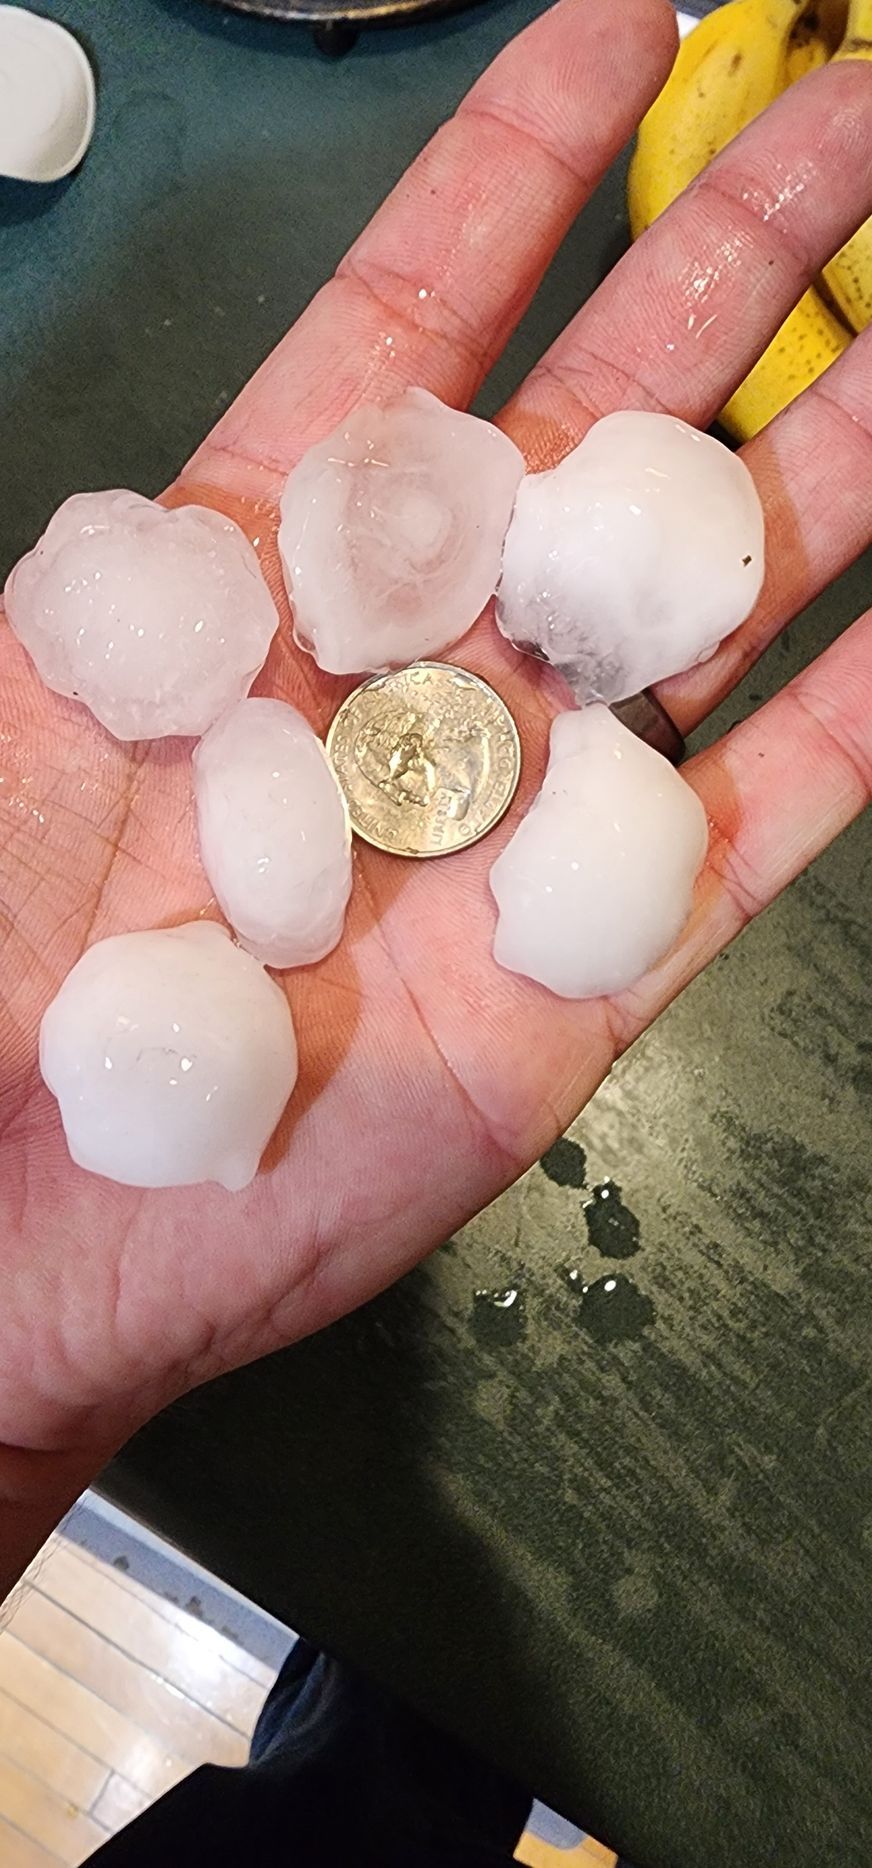
Car dents—those unsightly nuisances that mar the sleek, smooth surface of your vehicle. You know them; they're the uninvited guests of the automotive world, showing up after a casual trip to the grocery store or an unforeseen hailstorm. They can transform your car's flawless finish into a canvas of bumps and bruises, diminishing its aesthetic appeal and, potentially, its resale value. So, what can you do about them?
Fortunately for you, we have gathered a collection of expert car dent removal strategies—time-tested and approved by professionals in the automotive repair industry—to help you tackle these vexing blemishes. From DIY car dent removal techniques that require minimal tools and effort, to more advanced car dent removal methods necessitating professional-grade equipment and a bit of expertise; there's a solution for every type of dent and every level of skill.
Whether you're facing a small, seemingly insignificant ding or a larger, more conspicuous dent, the approaches outlined in this article are designed to guide you through the process of making your car look as good as new. You may wonder, "Is it really possible to achieve professional results without a trip to the body shop?" Yes,—and we're here to show you how.
1) Use a Plunger
Ahh—the all-too-common sight of a dent on your beloved car; it's frustrating, isn't it? You find yourself staring at it, wishing it would just disappear. Well—here's a bit of good news: the humble plunger, typically reserved for less glamorous tasks, can be your ally in this battle against unsightly dents. Yes, you heard that right—a plunger.
This tool, often overlooked, holds the power to tackle those annoying dents with a simplicity that is almost too good to be true. The process of car dent removal using plunger is straightforward, yet it demands a bit of your elbow grease and patience. Here’s how you can turn this everyday bathroom accessory into a car dent remover.
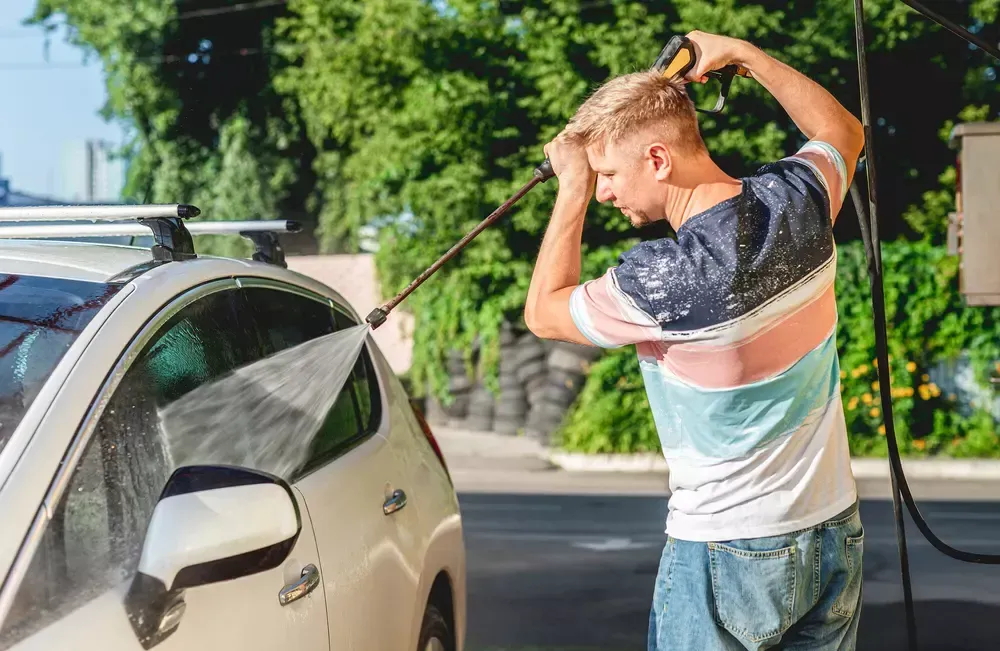
Firstly, you'll need to ensure the dent is clean; a quick wipe-down will do—just to make sure the suction cup can adhere properly. Next, prepare the plunger by moistening its rubber edge with water; this improves the seal and increases suction power. Now, place the plunger over the dent, ensuring the rubber head completely covers it.
With a firm grip, push down on the plunger and pull back with steady force. You might need to repeat this action a few times; each pull potentially popping the dent back into place. It’s a method that's as surprising in its simplicity as it is effective in execution.
Remember, this car dent removal technique works best on medium-sized dents—those that are not too small or overly large and complex. It’s perfect for dents where the paint has not been cracked or chipped; maintaining the integrity of your car’s appearance without the need for costly repairs.
2) Use Boiling Water
Regardless of how the dent has marred the sleek lines of your car—whether it's a minor annoyance or a more significant blemish—there's a surprisingly simple, yet effective, approach you can take: using boiling water. Yes, you read that correctly; boiling water can be your ally in the battle against dents. The heat from the boiling water has the potential to make the plastic more pliable, allowing you to reach behind the affected area and push the dent back into place.
To employ this car dent removal method, you'll need to proceed with caution and ensure you're equipped with the necessary safety gear—like gloves—to protect yourself from burns. Once you've brought water to a rolling boil, carefully pour it over the dented area. The sudden heat will cause the plastic to expand, making it more flexible. Quickly, while the area is still warm, reach behind the dent and gently push it back out. This action, if done correctly, can pop the dent back to its original form, reducing the visibility of the damage.
After you've managed to rectify the dent to your satisfaction, douse the area with cold water; this sudden change in temperature will help set the plastic back in its place, ensuring the dent remains a thing of the past. It's crucial, however, to remember that this method works best on plastic components of your car, such as bumpers and some panels, not on metal parts.
In the event that the dent doesn't completely resolve, or if the area is made of metal, additional tools and techniques might be necessary.
3) Buy a Dent Puller Tool or Kit
If the rather typical plunger and hot water technique falls short—despite your best efforts—consider elevating your game by investing in a dent puller tool or kit; yes, a specialized tool designed for the very purpose of dent removal.
This investment for car dent removal, though seemingly modest, can dramatically transform your approach to tackling those pesky dents that mar the beauty of your vehicle. Here's how you, yourself, can become proficient in this method:
Firstly, you'll need to carefully select the right dent puller tool or kit. There are various types on the market—suction cup pullers, glue-based pullers, and even more sophisticated options. Each type has its own set of instructions, so choose one that aligns with your comfort level and the nature of the dent.
Upon acquiring your tool of choice, ensure you thoroughly clean the affected area. Dirt, grime, and debris can hinder the effectiveness of the dent puller; thus, a clean surface is paramount. Use a quality cleaning solution and a soft cloth to prep the area.
Next, prepare the dent puller according to the manufacturer’s instructions. If you're using a glue-based kit, for example, apply the glue to the pulling tab and then place it firmly onto the center of the dent. Patience is key here; allow the glue to set as recommended.
Once the setup is ready, it's time to pull. If your tool is a suction cup, apply steady pressure to create a vacuum and then pull with a firm, controlled motion. For glue-based kits, you'll likely use a pulling bridge or similar mechanism. The goal is to gently coax the metal back into place without causing additional damage.
After the pull, inspect your work. It may require several attempts to fully rectify the dent, especially if it's a larger or more complex one. Don't be discouraged; persistence is often rewarded in the realm of DIY car repairs.
Finally, once satisfied with the dent removal, it's advisable to give the area another cleaning. If you used a glue-based puller, remove any residual glue according to the instructions provided. This step ensures that your car's surface is not only dent-free but also clean and tidy.
Remember, the beauty of a dent puller tool or car dent removal kit lies in its simplicity and effectiveness; however, the true art comes from the patience and precision you, the user, bring to the process. With these tools in hand—coupled with a careful, methodical approach—saying goodbye to dents becomes a far more manageable, even satisfying, endeavor.
4) Fix the Dent from the Inside
If you find yourself comfortable wielding a mallet with a bit of finesse and precision, then fixing a dent from the inside might just be within your wheelhouse. This method, tailored for those with some experience in DIY car repairs, involves accessing the dent from the backside and carefully working it out. Here's how you can achieve a smoother surface and say goodbye to that unsightly dent:
Gain Access to the Dent — The initial task of car dent removal involves removing any interior panels, trim, or insulation that blocks access to the dent's reverse side. This may require a screwdriver or a panel removal tool; proceed with caution to avoid additional damage.
Prepare Your Tools — Once you have clear access to the other side of the dent, arm yourself with a mallet and a soft cloth or a piece of dense foam. These will be your primary tools in the dent removal process.
Gentle Persuasion — Wrap the head of your mallet with the soft cloth or place the foam over the dent's area to protect the paintwork. Then, with measured, gentle taps, begin to work on the dent from the inside out. The key here is patience; too much force and you might end up causing more harm than good.
Check Your Progress — Frequently step back to assess your progress from the exterior. This will help you ensure that you're evenly distributing your efforts and not exacerbating the dent. It's a delicate balance between applying enough force to push out the dent and not so much that you stretch the metal.
Finishing Touches — Once the dent appears to be sufficiently smoothed out, it may be necessary to do some minor touch-ups on the paint or clear coat. If you've managed to avoid cracking or chipping the paint during the process, a good polishing might be all that's needed to restore your car's flawless finish.
5) Take Advantage of Professional Car Dent Removal Experts
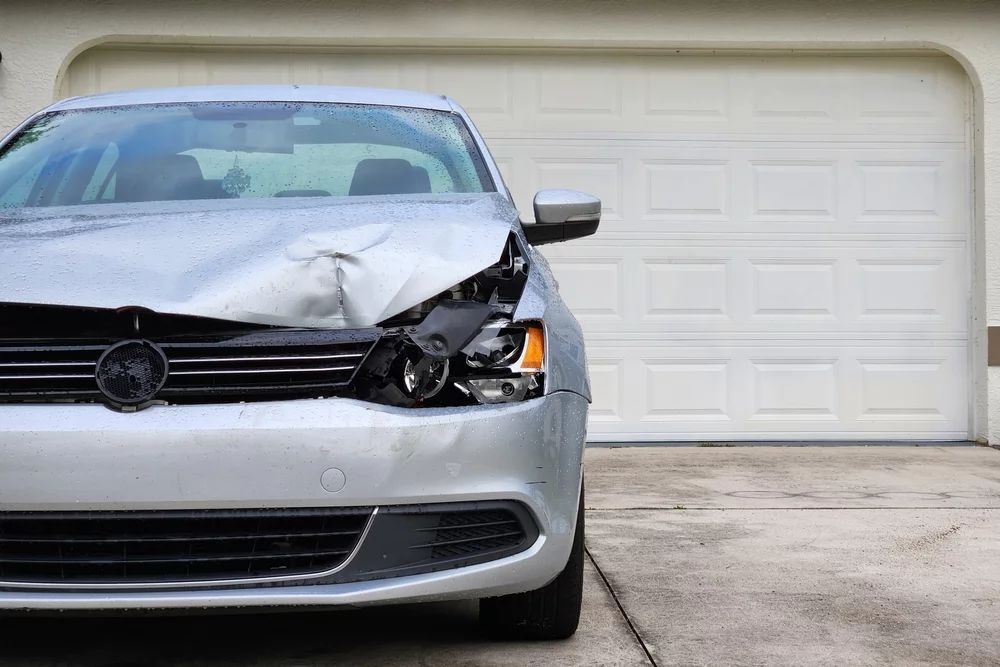
If you consider your vehicle a precious investment - which you undoubtedly do - then maintaining its impeccable appearance is —if not a priority—certainly near the top of your to-do list. Dents, however minor they might seem, can mar that pristine image you cherish; thus, seeking professional help becomes not just advisable, but essential.
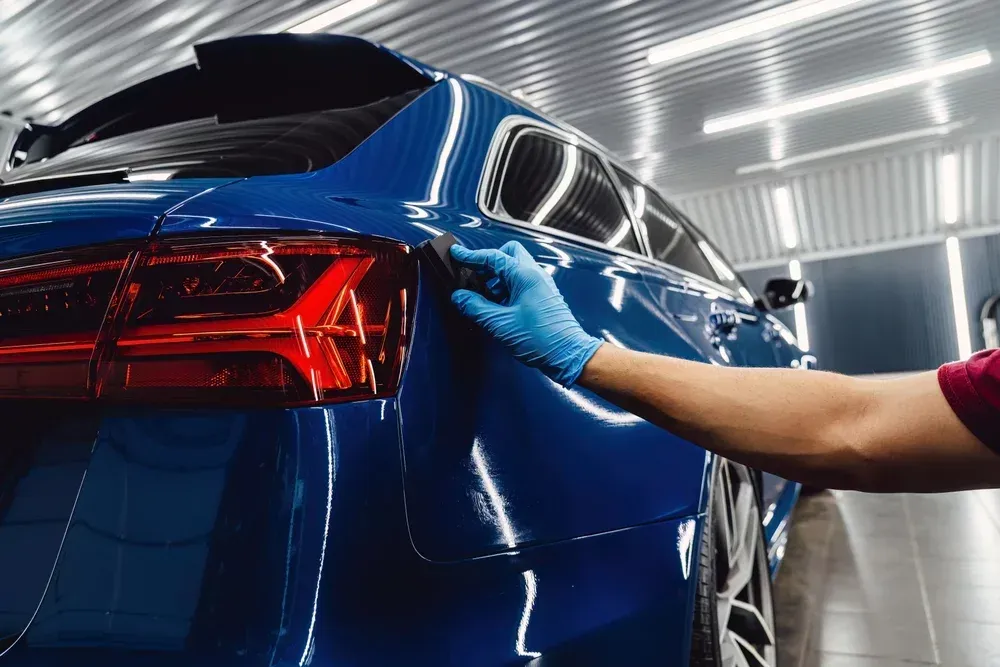
Drawing on their unrivaled experience and expertise, established car dent removal workshops can deliver what seems almost miraculous: returning your car to its pre-dent glory. Among these skilled professionals, Experts Dent Clinic Inc. stands out—offering the best services designed to address even the most challenging dents without compromising the vehicle’s original paint or structural integrity.
Our team of highly trained technicians employs the latest techniques and cutting-edge technology, ensuring a job well done; every time. At Experts Dent Clinic Inc., we understand how much your vehicle means to you. That's why we treat each car with the utmost care and respect - as if it were our own.
Moreover, by opting for expert assistance, you're not only preserving your car's aesthetic appeal but also its market value. A smooth, dent-free exterior significantly contributes to a higher resale price. So, investing in professional car dent removal now could pay off handsomely down the road.
Related Articles